I have a fun tutorial to share with you today!
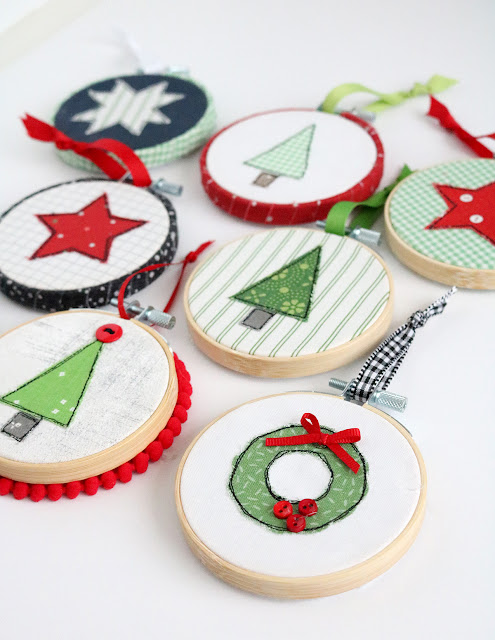
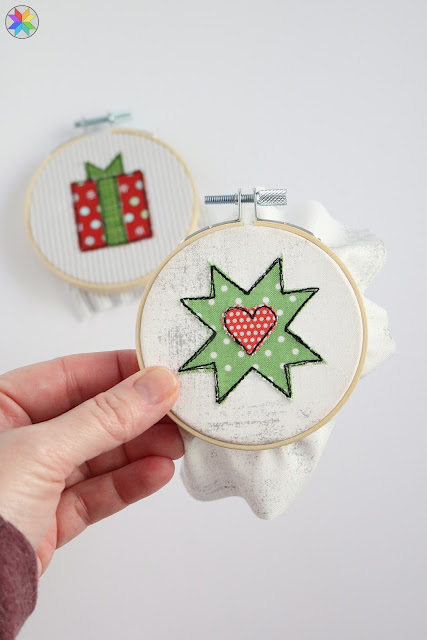
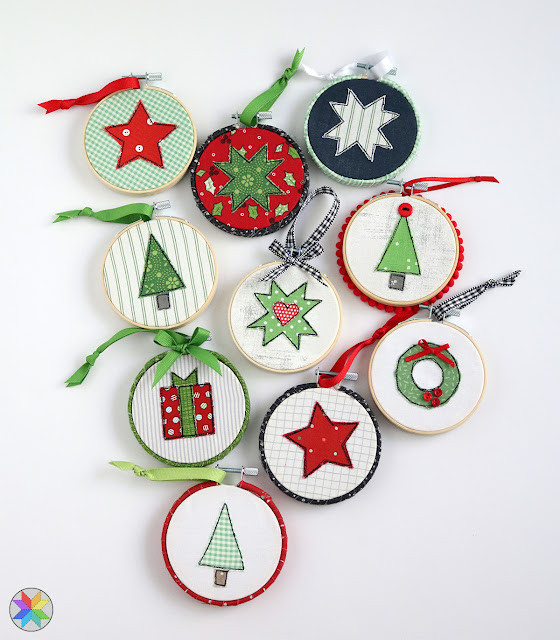
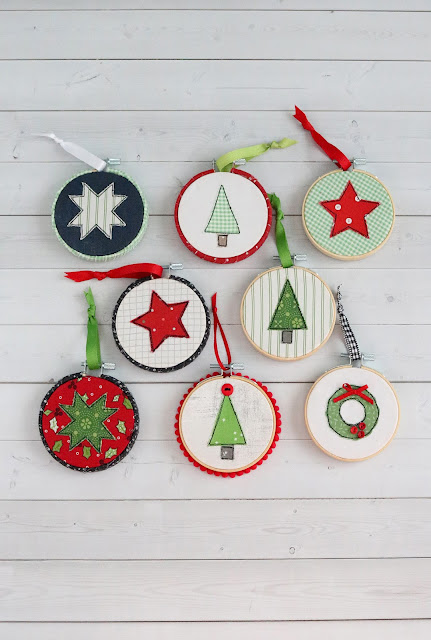
I've been making some of these Sketch Stitched Christmas Ornaments lately and they're fun to make, easy to customize, and a great way to use those fabric scraps we all have on hand. Plus they're a great handmade gift idea!
To make these ornaments I used the raw edge applique technique but... instead of using matching thread and hiding my stitches I love to add some outlining stitching in a nice dark, contrasting thread. It helps the little shapes to stand out really nicely against whatever fabric you use for the background.
And you can let go of worrying if your stitches are perfect or not - just relax and have fun with these. The stitching looks so fun when it's slightly imperfect - it gives it that "sketched" look!
Ready to get started?
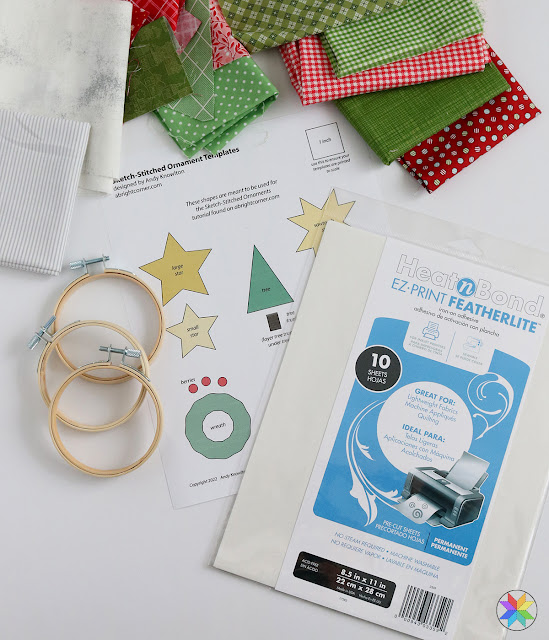
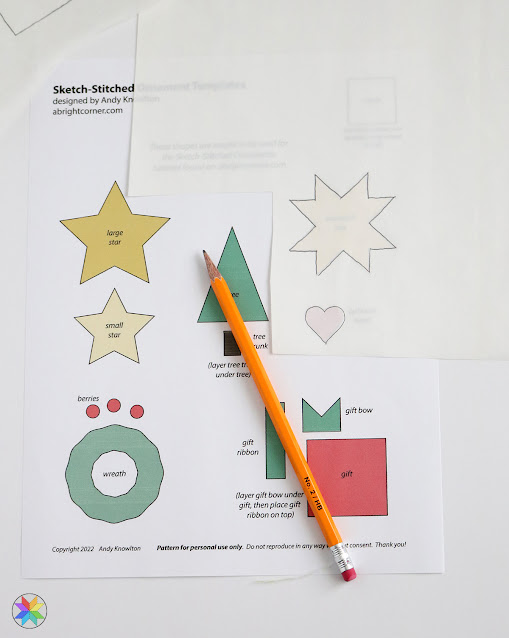
Here's what you'll need:- Sketch Stitched Ornament Template PDF (get the free PDF here)
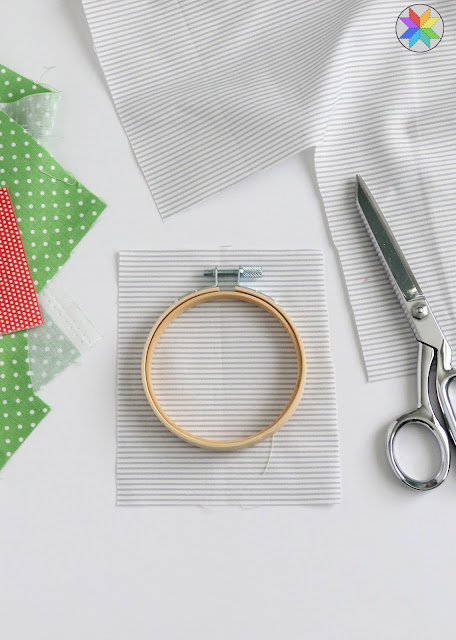
- 3" embroidery hoop (like these)
- Heat n Bond Lite or Featherlite (or similar product)
- ribbon (for trim and hanging loops)
- fabric scraps for background (at least a 5" square)
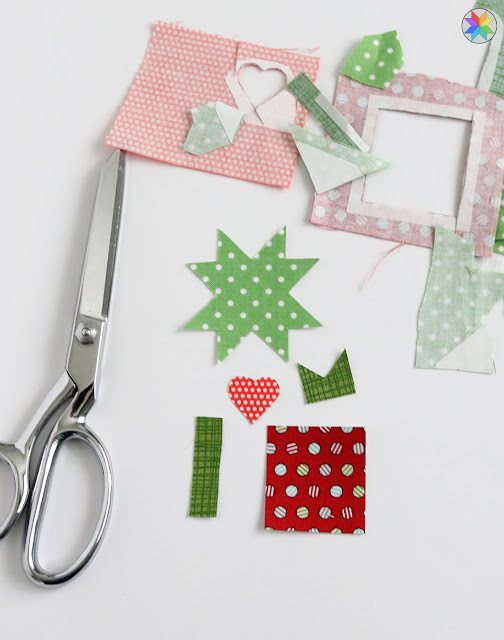
- fabric scraps for shapes
- black or other dark thread
- optional: inexpensive felt, tiny buttons, assorted trim
Tools needed: sharp scissors, hot glue gun, pencil, sewing machine, iron
How to get the free ornament template sheet
The template is a free download for my newsletter subscribers. Click here then fill out the form. The free PDF template will be sent directly to your inbox!
Let's get started!
Step 1: Download and print the Sketch Stitched Ornament Template PDF.
After you print the template, make sure that the 1" square in the top right corner of the first page measures 1". This will ensure your shapes will be the right size for your 3" embroidery hoops.
Step 2: Cut your background fabric to about 5" square.
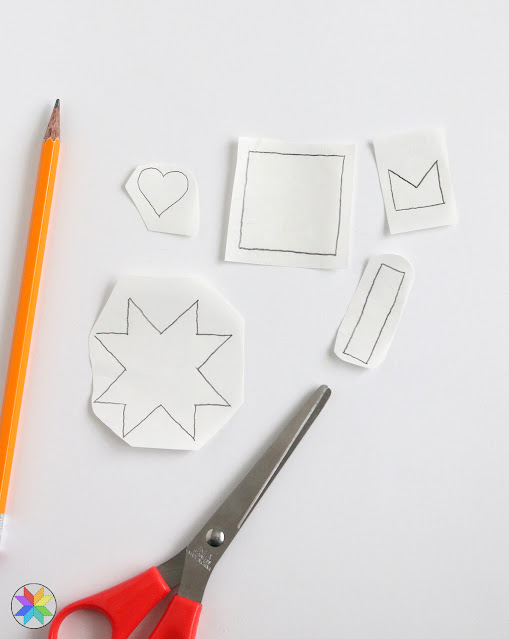
Step 3: Using a pencil, trace the shapes you want to use from the template onto the paper side of the Heat n Bond fusible web (or similar product). See the PDF template pattern for different options for each ornament.
Step 4: Rough cut each shape, leaving at least 1/4" of space all the way around the shapes.
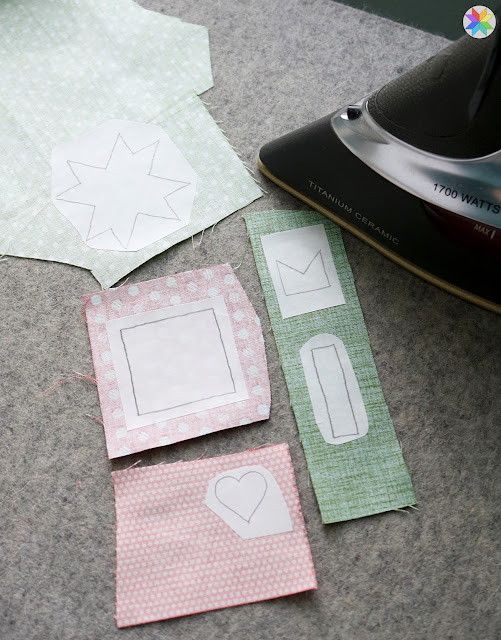
Step 5: Using a dry iron, press the Heat n Bond shapes (paper side up) onto the wrong side of the fabric scraps (it doesn't take long for the Heat n Bond to fuse to the fabric!)
Step 6: Using sharp scissors, cut out each shape on the drawn lines.
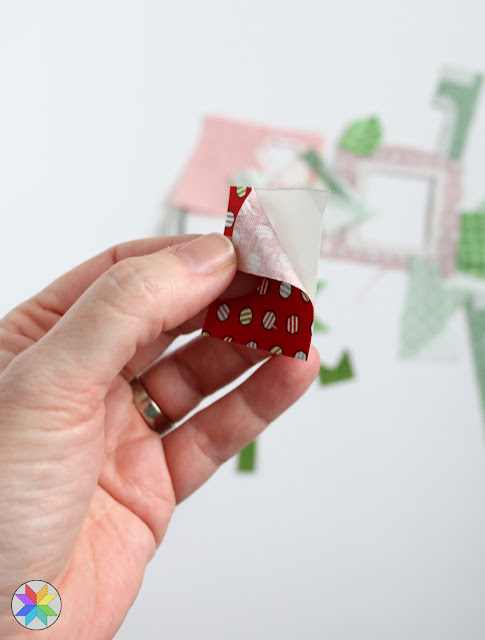
Step 7: Remove the paper backing from each shape.
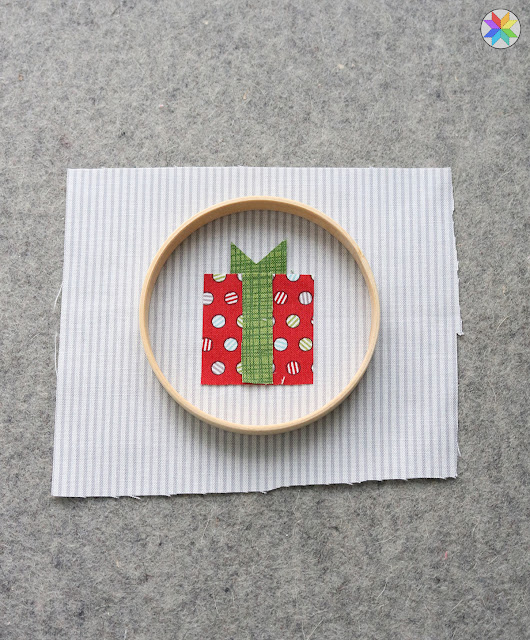
Step 8: Center the hoop on the background square (just to help with placement), and using that as your guide place the fabric shapes where you'd like them.
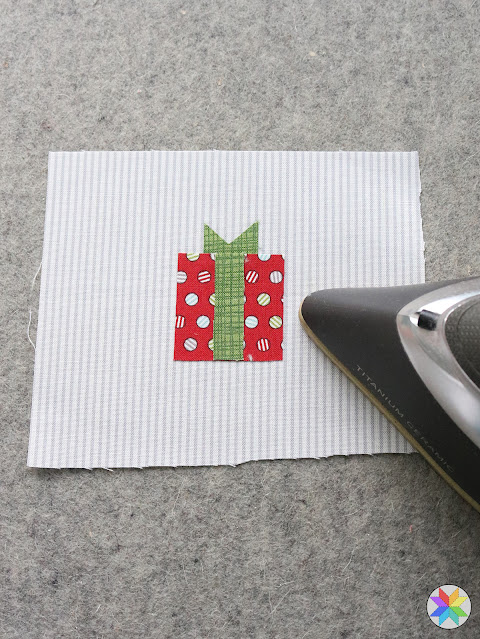
Step 9: Press the fabric shapes in place. It doesn't take long! Just a quick press with the dry iron and they'll be set enough to continue.
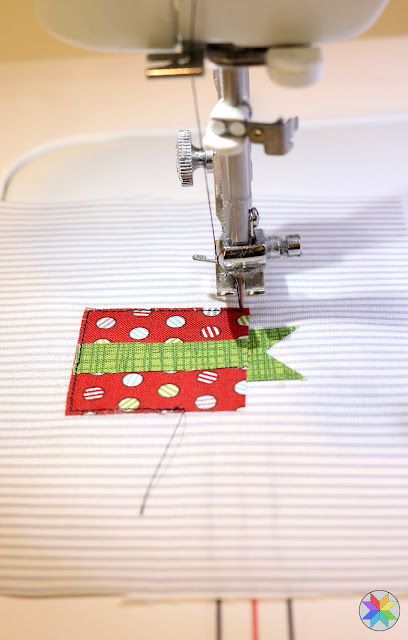
Step 10: Thread your machine with black or dark gray thread - use the same thread in the bobbin as well. If you use a lighter thread in your bobbin your sketch stitching will have little white dots in it like in the photo below.
Step 11: Shorten your stitch length slightly. These shapes are small and it looks better when you use a shorter stitch.
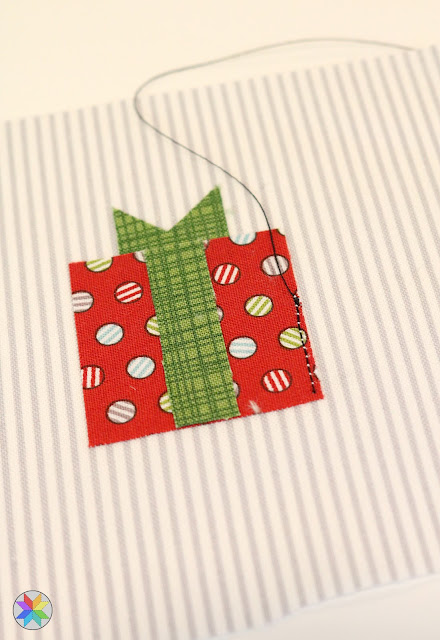
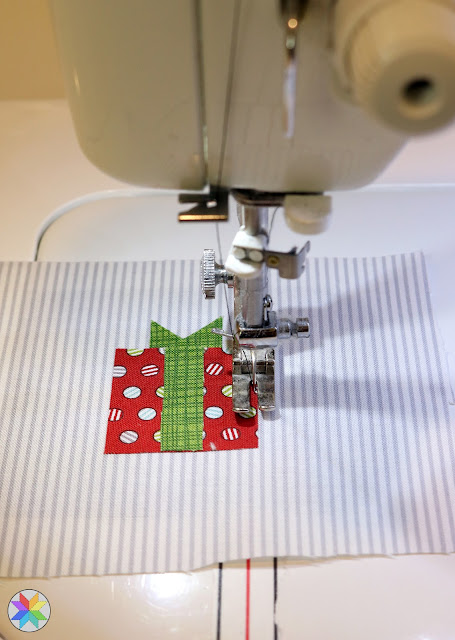
Begin stitching around each shape, a little on the inside edge of the fabric shapes. I recommend that you begin stitching on a side edge and not a corner.
Take your time - but remember...we're not going for perfection here. It's ok if your lines are not perfectly straight.
When turning the corner, leave the needle down to pivot at that point.
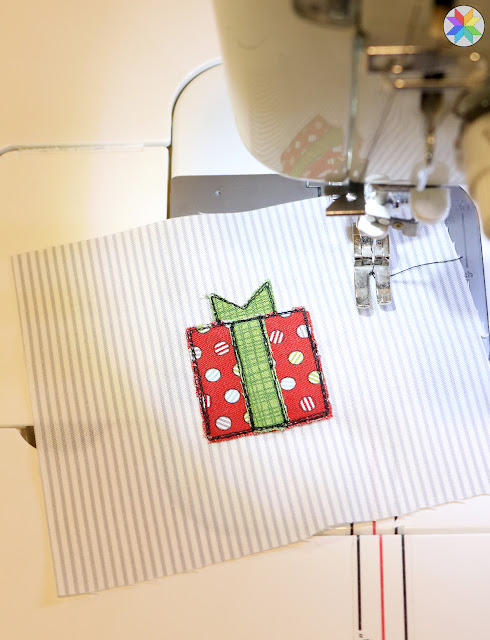
Continue stitching around at least two times, or even three for slightly darker lines.
Each time you trace over your previous stitches try not to stitch exactly in the same place - we're going for the sketched look so I let my lines be slightly imperfect as I stitch around each shape.
The sketch stitching creates an outlined look around each shape - don't forget to stitch around every shape - like the little heart, and the ribbon on the gift. I like to outline the main shape first, and then go back and do the accents last.
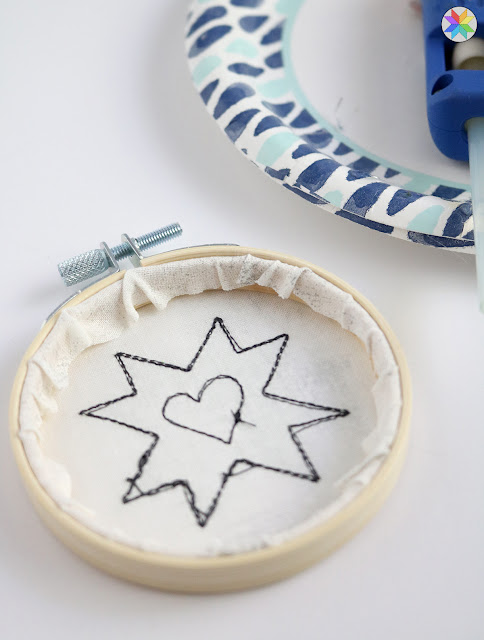
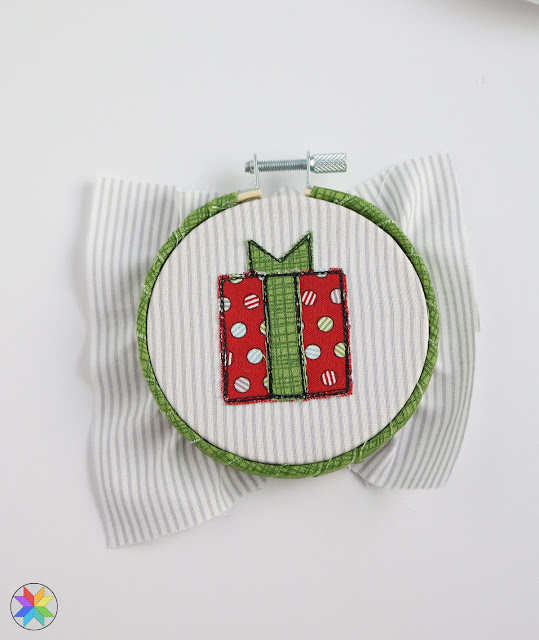
Step 12: Center the fabric square inside the 3" embroidery hoop, and tighten the hoop.
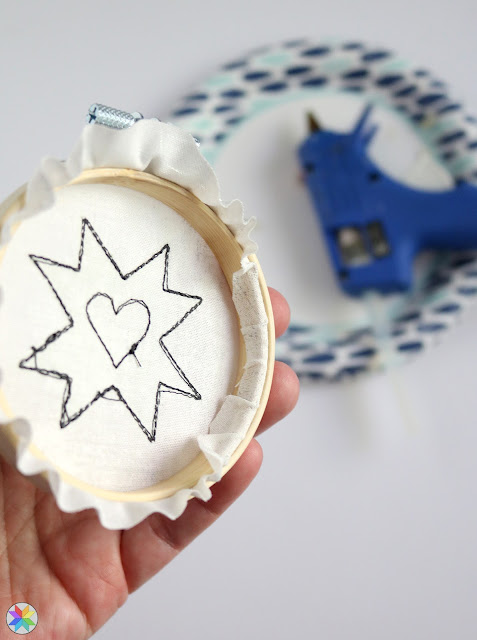
Step 13: With scissors, trim the excess background fabric, leaving enough to be able to fold it to the back and hot glue in place.
Work in sections, adding a bit of glue to that inside edge of the embroidery hoop, and then folding the fabric over and pressing it against the glue to hold it in place.
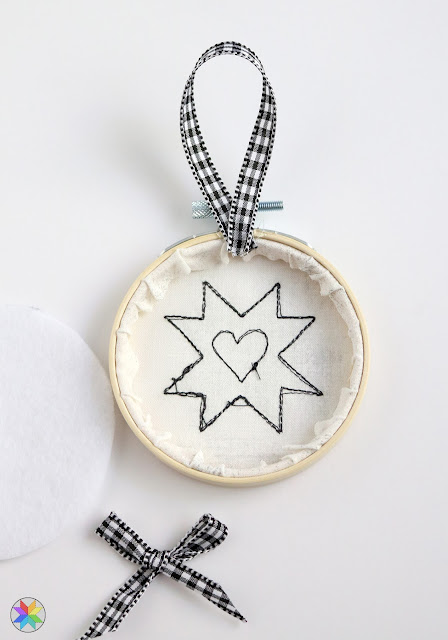
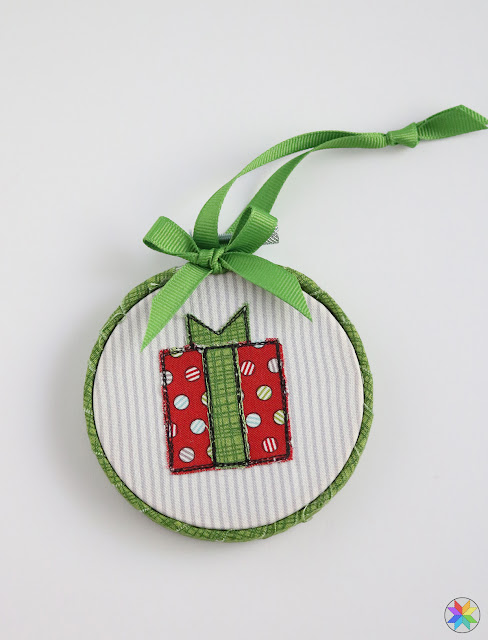
Step 14: Glue a ribbon loop in place at the top
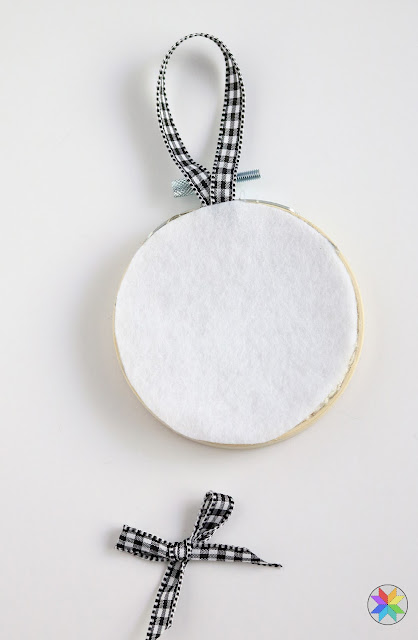
Step 15: This step is optional but creates a more finished looking ornament. Trace the embroidery hoop on a piece of inexpensive felt and cut out the circle. Be sure the felt circle is just slightly smaller than the outer hoop (so it doesn't show from the front of the ornament once it's glued in place)
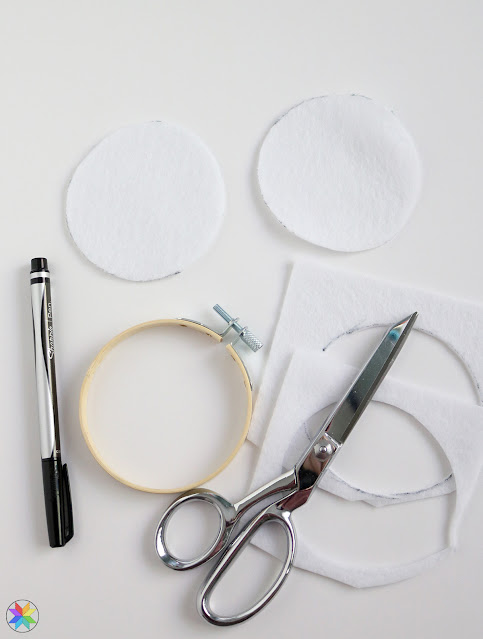
Then run a bead of hot glue around the back edge of the embroidery hoop and press the felt circle in place.
Step 16: Add any extra embellishments -have fun with different ribbons and trims. Tiny buttons make great accents (like berries on the wreath, or at the top of the tree). I found some cute red pompom trim at JoAnn and hot glued it around one hoop. You can also use a fabric strip to wrap the hoop!
Want to know how to wrap an embroidery hoop? It's easy and quick to do - and I love how it looks!
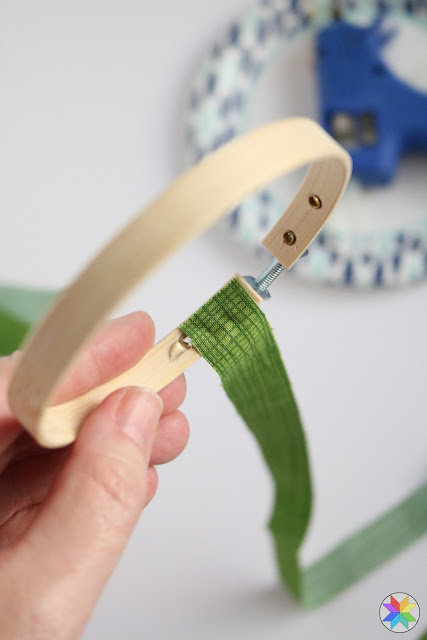
Cut a strip of fabric that is about 3/4" wide. Mine was about 20" long and that was plenty for wrapping these small 3" hoops.
Separate the inner hoop from the outer hoop. Working with just the outer hoop, add a bit of hot glue to the inside edge of the hoop (near the top) and attach one end of the fabric strip.
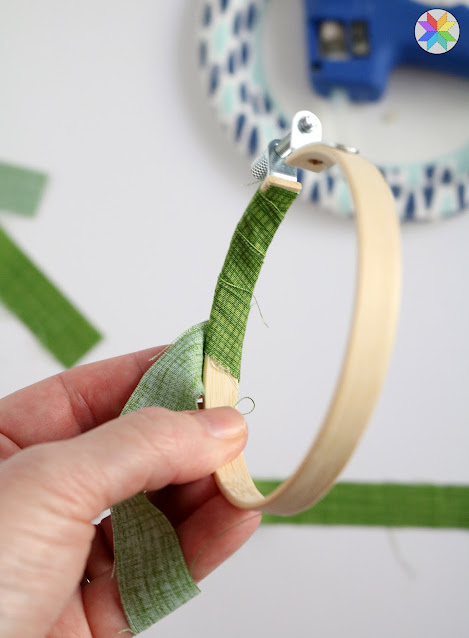
Start wrapping the fabric strip around, keeping it snug against the hoop. Add a dab of glue on the inside edge of the hoop every few times around to hold the fabric in place.
Continue wrapping...
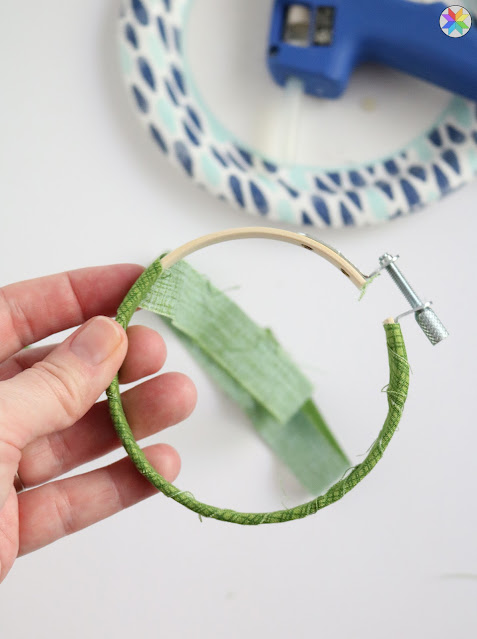
When you get back to the top, trim the fabric strip so that it will end on the inside edge of the hoop. Glue that end in place.
I really should have done one more wrap to hide that little bit of wood peeking out, but I knew I'd be adding a bow so I left it.
Trim any stray threads. Now you can add your stitched ornament and proceed with the rest of the steps listed above!
These are so fun to make - and I love any excuse to use up some of my fabric scraps!
If you make some Sketch Stitched Ornaments I'd love to see them!
Tag me (@abrightcorner) on social media and use the hashtags: #SketchStitchedOrnaments and #abrightcorner so we can all see what you create!
**This post may contain affiliate links, which means I may receive a small commission (at no additional cost to you) when purchases are made through links found in this post.


These are adorable Andy! Thanks for the tutorial!
ReplyDeleteNice work
ReplyDeletewaiting 20 min so far- no template in my email- sigh
ReplyDeleteHi Gwen - send me an email - abrightcorner (at) gmail (dot) com and I'll send you the link!
DeleteThese are cute! Thanks for sharing.
ReplyDeleteThanks for pattern. I've seen these and wondered how they were done. I like the irregular stitches. I saw these few years ago with a "sketch stitch" that was even more irregular.
ReplyDelete
ReplyDeletePerfect timing! I'm going to make these for my nieces and nephews to attach to their gifts. Thanks so much!
Thanks for sharing! Looking forward to this fun project ❤️💚❤️
ReplyDeleteVery cute ornaments! Thank you for the templates! Can't wait to make a few!
ReplyDelete