Friday, August 29, 2014

The Leftover Conundrum

 Leftovers are just a part of life, right?  Every once in a while, after finishing a quilt I’ll find I have enough leftovers to possibly make another whole quilt – a small one, but still a whole quilt!  And I’m always torn.  Should I just add the fabrics to my stash (which is arranged by color) and let it go?  Or just keep going and make that second quilt.

What do you do?

Flirty charms was made with leftovers, as was Honey Honey, Hometown Healing, and Sweet Baby Boy.

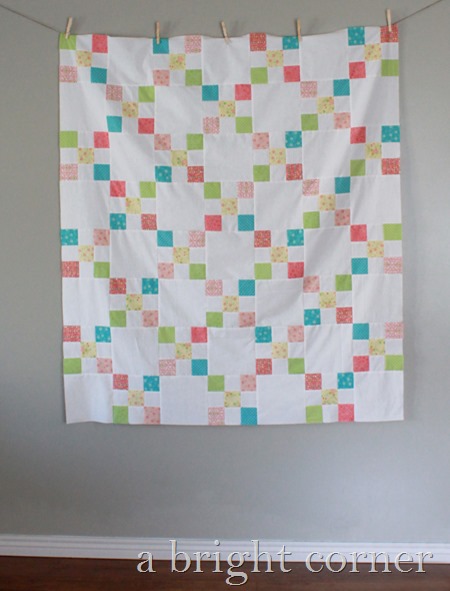
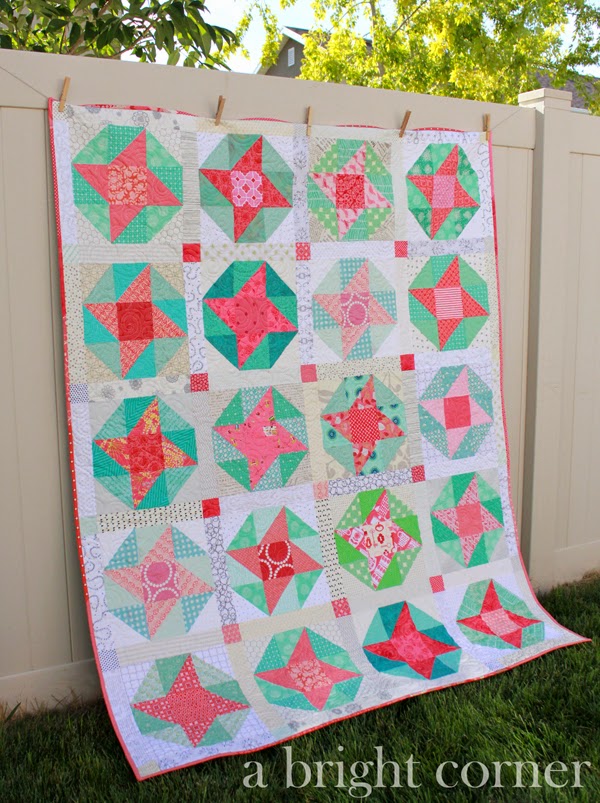
Cute flowery Irish Chain quilt from A Bright Corner

And now I have another to add to the list.  I had some 3” strips leftover from this quilt and with the addition of a bit more Kona Snow, I knew I could make a small throw sized quilt.  So I got to work.

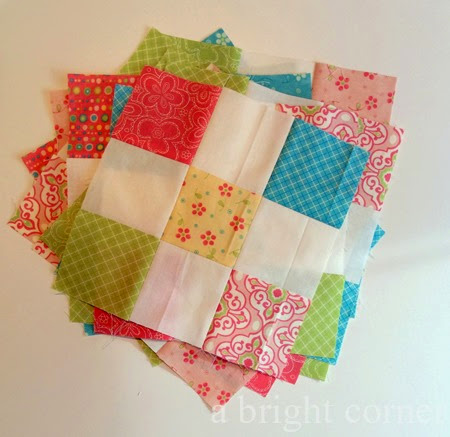
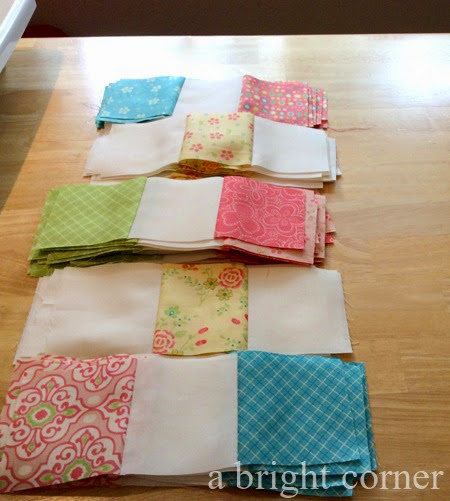
With the combination of strip piecing and chain piecing it was a fast project.  In about an hour I had a stack of blocks:

Nine patch blocks

And not long after that I had a quilt top (I did have to make a trip to my local shop to get a bit more Kona Snow).  The quilt top measures about 52” x 60” and I'm hoping to get the quilting done on it this weekend.  Hooray for leftovers!  

Cute flowery Irish Chain quilt from A Bright Corner

Linking up to Finish It Up Friday with Crazy Mom Quilts


Wednesday, August 27, 2014

Easy Pencil Case Tutorial

School is back in session here in Utah and with that comes the purchasing of new school supplies.  Anyone else LOVE shopping for school supplies?  I love new boxes of pens and pencils and do even get me started on a new box of crayons!  

Well after a few days of school, my son started complaining about how frustrating it was to have to dig his pencils out of the bottom of his backpack for each class.  To solve the problem I made him a snap-shut pencil case.  They're perfect for this sort of task because they're quick and quiet to open and close.  

His pencil case was so fun to make that I just made a few more that afternoon for a couple of friends.  Today on the Therm o Web blog I have a tutorial showing how you can make a bag too.  

Easy pencil case tutorial found on A Bright Corner

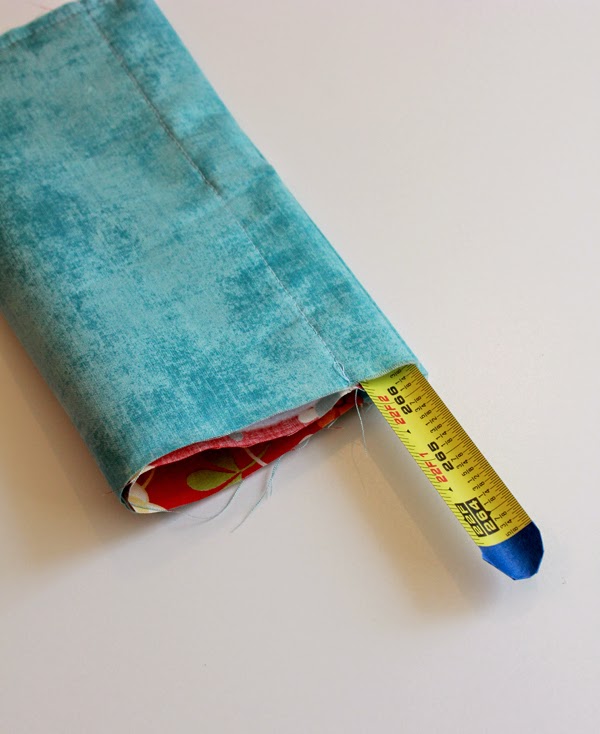
What makes this such a fun bag?  No zippers, velcro, snaps or buttons.  Instead, two strips of tape measure are used.  No really!  

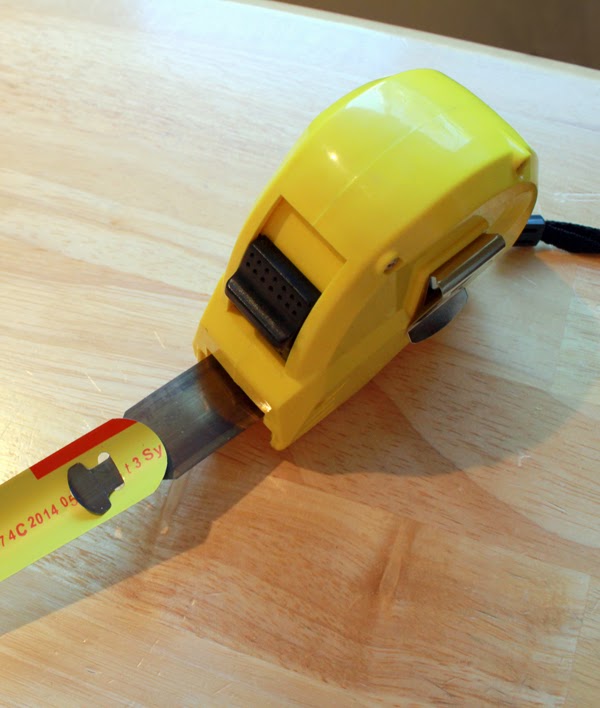
You can use an old tape measure, or like me you can buy an inexpensive one.  This one was $2.  I pulled the tape out all the way to the end and found that they provided an easy way to detach the tape from the casing.  Perfect.  

Easy pencil case tutorial found on A Bright Corner

Use a pair of sharp scissors to cut the tape to the length you need but be warned - this will most likely ruin the scissors.  I have a pair that I keep around for things such as this.  But they really don't work well for paper or fabric-ish type cutting anymore. 

 Be sure to round the corners and cover them with a bit of tape so those sharp edges don't cut holes in your lovely new snap bag.  

Easy pencil case tutorial found on A Bright Corner

These really are quick little bags to sew and they make nice gifts.  In fact, a few of my family and friends just might be seeing these at Christmas!     


Easy pencil case tutorial found on A Bright Corner

Monday, August 25, 2014

Simple Gifts Baby Quilt (and tutorial!)

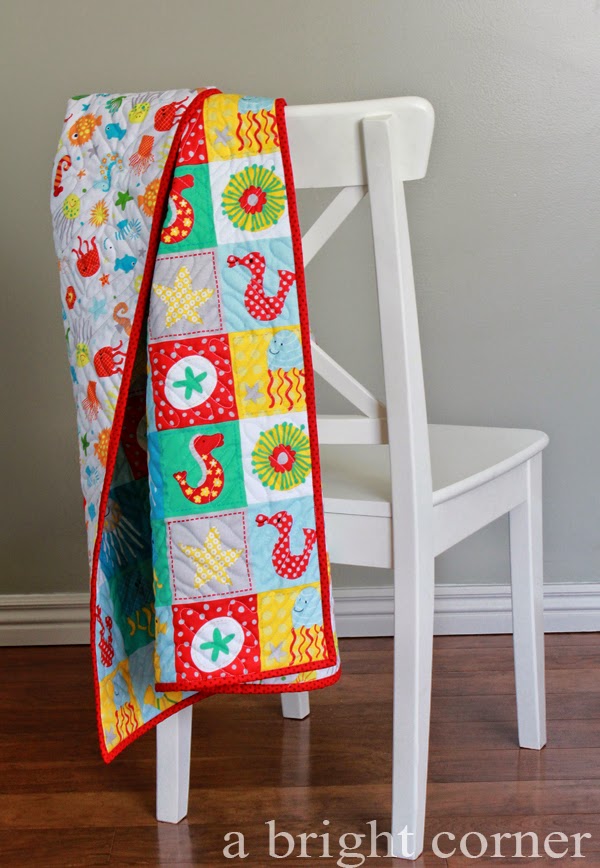
Last week I whipped up a quick and easy baby quilt for a friend of mine.  I used a tutorial that I wrote  a couple of years ago called the "Simple Gifts Baby Quilt tutorial".

Quick and easy baby quilt - with a tutorial!

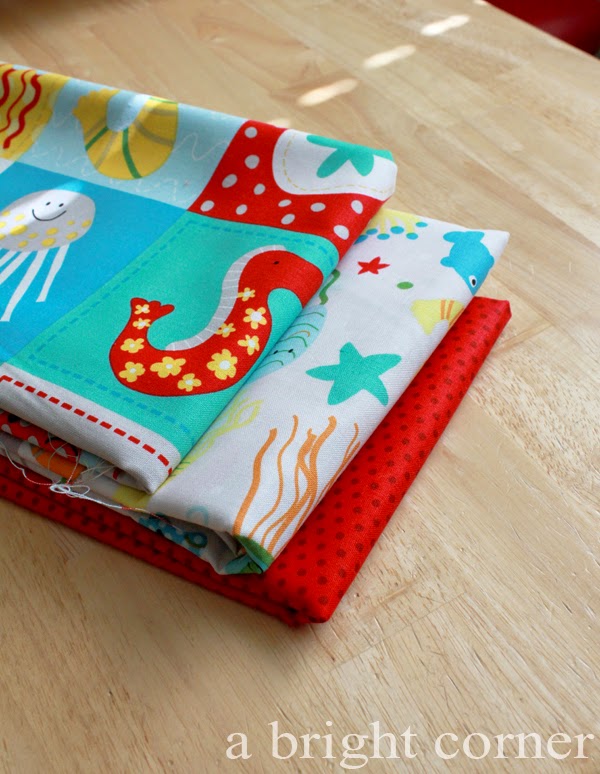
I bought this stack at my local quilt shop - just 1-1/4 yard cheater panel for the quilt front and 1-1/4 yard of backing.  For the binding I needed 1/3 yard, and for the batting I had a leftover piece that was big enough - perfect!  

side note:  I LOVE using up those smaller, leftover pieces of batting, don't you?  I feel bad throwing them away, so I stack them next to my shelf and hope that I'll need it eventually!

In The Ocean fabric stack

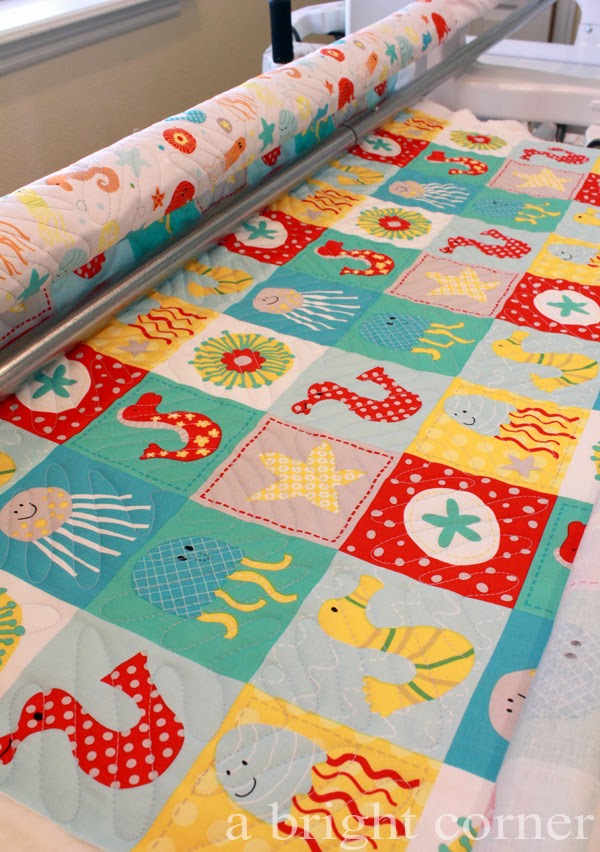
Instead of spray basting the quilt and quilting on my Juki, I loaded it on my HandiQuilter and did some alternating squiggly lines:

A quick and easy baby quilt - with tutorial!

You can see the quilting a bit better in this photo.  For each square I alternated the direction of the squiggly lines.  It was a fun alternative to a regular meandering quilting design! 

Alternating squiggly line quilting

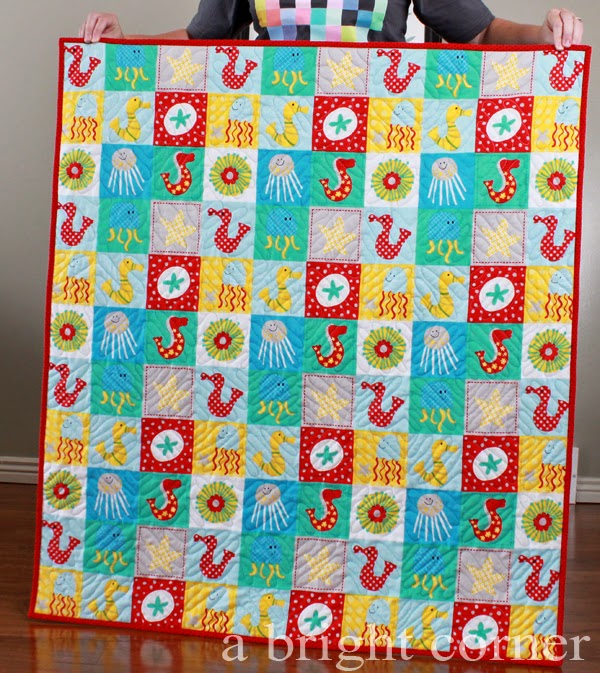
The quilt ended up measuring 38" x 42 and you can see in this photo what the cheater panel looks like.  I love the sweet little sea creatures!

[fabrics used for the quilt front and back are from the In The Ocean line designed by Lesley Grainger for Riley Blake]

A quick and easy baby quilt using a cheater panel


This little quilt was a fast and fun project!  It's all wrapped up and ready for giving.  Hope she likes it!


Thursday, August 21, 2014

Sun and Surf Quilt - all done!

I gave a sneak peek the other day of the finished Sun and Surf quilt - but here's the full quilt!  It's chock full of scrappy yumminess.  My most favorite part is the fact that it was made by 9 creative women and their lovely stashes.

I've mentioned it before, but in case you're new around here, I'm a member of the Imagine group of Do. Good Stitches.  [Read more about Do. Good Stitches here]  Honestly, being a quilter for a Do. Good Stitches group is one of the most fulfilling parts of my year.

Sun and Surf quilt

Back in March I asked each group member to make two blocks using scrappy mint and coral, with scrappy low volume backgrounds.  And boy did they!  It's always such a treat to open my mailbox and find two lovely blocks there waiting for me!


Once I had received all of the blocks I dug through my low volume scraps for the sashing and borders.  I used some scrappy coral bits for the posts and again for the binding.  Don't you just love a scrappy binding??  


I used a solid minty blue on the backing and used an all-over swirl quilting design.  I wanted to give the quilt a lot of motion.  It already had a lot because of the block design, but the swirls add even more!


So with one more DGS quilt completed, it's about time to start another!  September is my month to choose a block so I'm currently on the hunt for a fun block idea.  If you'd like to see more of the finished quilts made by all of the DGS groups, you can see them all here in this flickr group.


Tuesday, August 19, 2014

Around the World Blog Hop

I've been invited by Sherri (she blogs at A Quilting Life) to participate in a fun Around The World Blog Hop.  Each participant is asked to answer a few questions and then tag another blogger or two to pass it on.  So here goes!

What am I working on?
First of all (and most exciting for me) I have three new quilt pattern in the works, all in different stages.  One is being proof read, one is still just a bunch of chicken-scratch notes in a folder and one pattern is being tested.  It is so fun for me to see designs that I dream up become real quilts and real patterns!

I'm also working on some older projects.  Like most quilters I know, I have a stack of WIPS (Works in Progress) and I try to work a bit on one of those each week.  This was one of them -

Sun and Surf quilt

I recently quilted and bound the Sun and Surf quilt top (free block pattern here and peek at the quilt top here).  I love how it turned out!

How does my work differ from others?
This is a good question.  I had to think about this for a minute.  I suppose my work differs from others simply because it is my own. Most of the quilts I create are not from a pre-existing pattern - I sketch something up and start working.  If I do follow a pattern or tutorial often times I will alter something.  Even just in the process of choosing a pattern and then selecting the fabrics we quilters are making something that is unique.  When you start working with your stash and your scraps, then it becomes even more so!  

Why do I write/create what I do?
I have always loved creating.  Creating gives me quiet time to think and work.  I love creating quilts mostly because they are such a universally usable item!  Everyone sleeps and everyone needs a blanket.  Whether you are 5 or 95.  There's a quilt for everyone.

How does my writing/creative process work?
I love color.  Plain and simple.  I am inspired by color and often times I am motivated by color.  A lovely stack of fabric or an entire line will inspire me to sketch up a design.
Lovely stacks of fabric found at A Bright Corner
Usually when I come up with an idea, I'll grab a piece of graph paper and draw it up.  Then I do some preliminary math to work out the scale and proportions.  I dig into my scraps and make up a test block (or two.  Or five.)  Once I'm happy with the test block I head to the computer to write up a bare-bones pattern.  This is mostly just a line drawing of the block, cutting measurements for each piece of the block and notes about construction.  I then head back to the sewing room to make a whole quilt, writing down notes about pressing directions, tricky techniques and any other details.  I use those notes to fill in that bare-bones pattern.  Illustrator is my best friend as I'm creating the final pattern and I use Photoshop to make the pattern cover.  I have to say that I do enjoy every step of creating a new pattern but sometimes it's tough to step away from my sewing machine and just do computer work for a few days!


Alright - enough about me!  Have you already been a part of the Around the World Blog Hop?  I know it's making the rounds.  If you have I'd love to read your answers to these questions!  Add a link in the comments so we can find you.  And I'll be back on Thursday with more photos of my finished Sun and Surf quilt!


Monday, August 4, 2014

On-the-go Bookmark Tutorial

A couple of weeks ago I had a tutorial on the Therm-o-Web Blog for an On-The-Go Bookmark.

On-The-Go Bookmark Tutorial

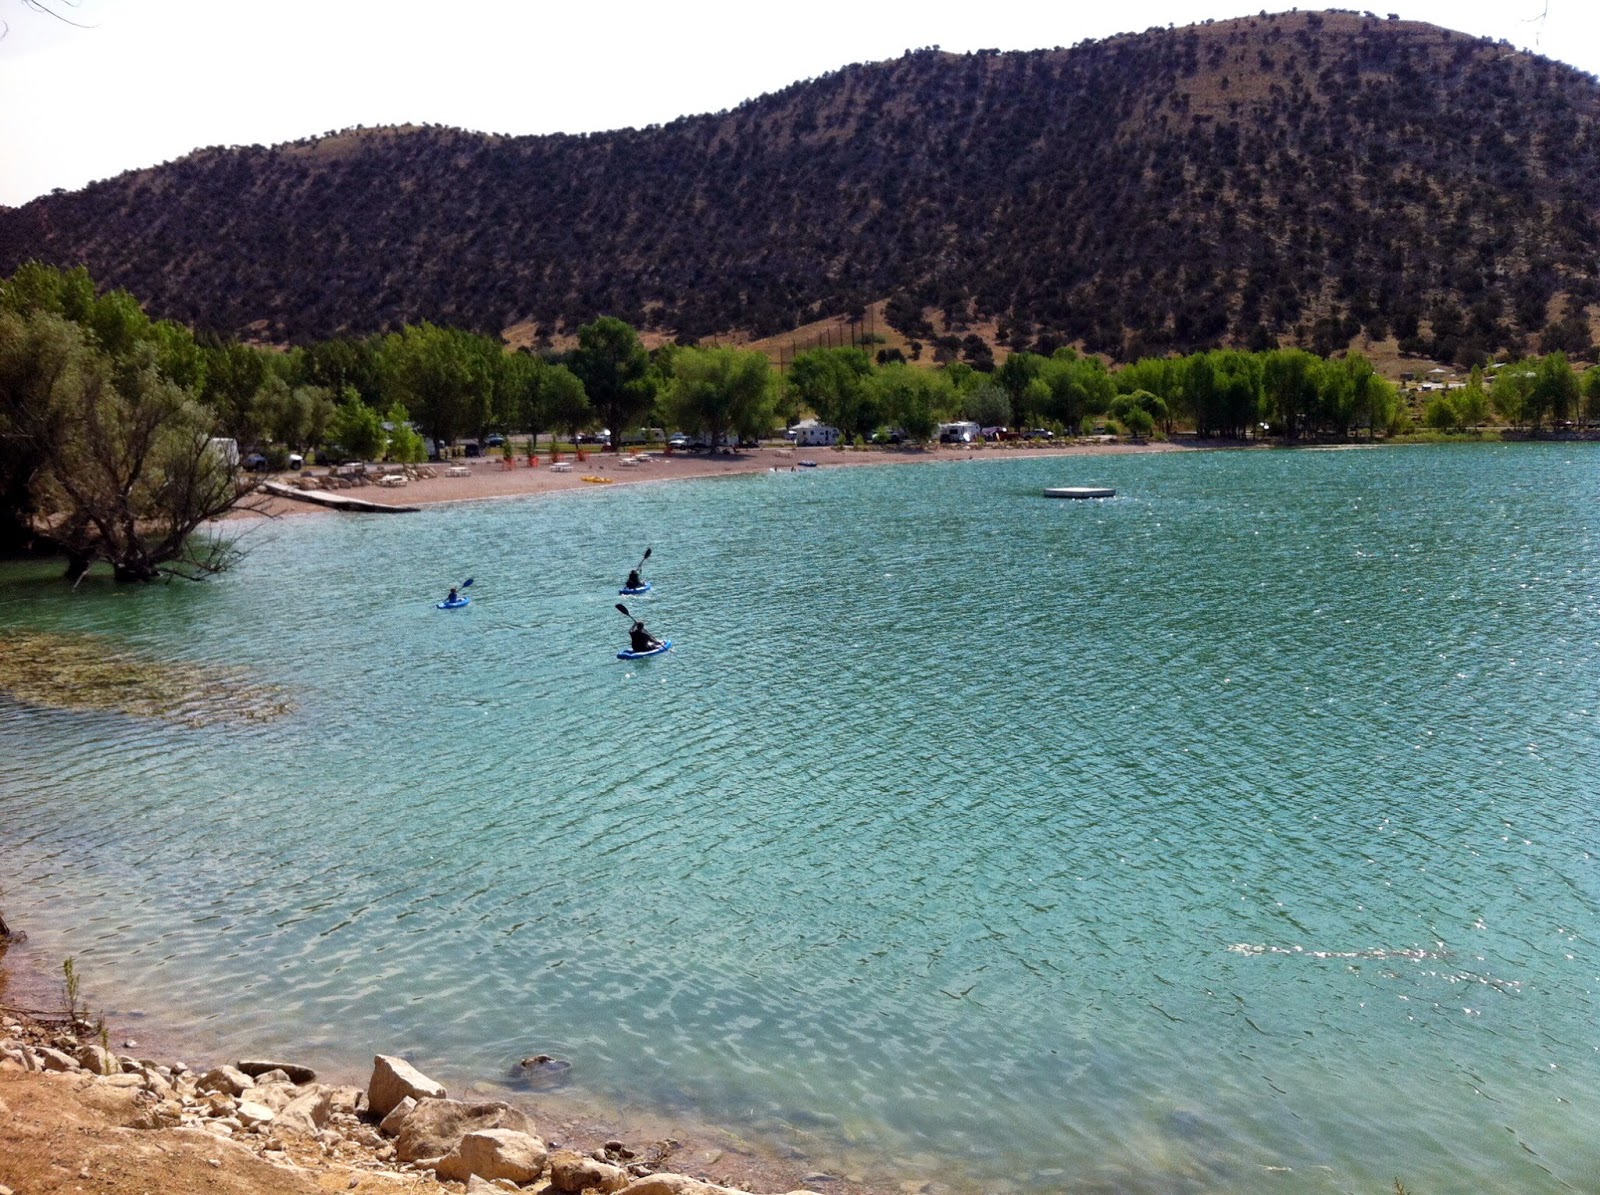
It was perfect timing because right after I finished the tutorial I had the chance to really put the bookmark to the test.  Our family headed down to one of our all-time favorite camping spots - Palisade State Park here in Utah.  We spent a fabulously relaxing four days there swimming, kayaking, exploring, hiking, aaaannnd relaxing.  Did I mention relaxing??


Utah's Palisade State Park

During the trip I started and finished a great book and sure enough, the bookmark did it's job.  I loved it!  And we are already looking forward to our next camping trip.  I have a book all ready to go!

Utah's Palisade State Park


Friday, August 1, 2014

Jelly Roll Racin'


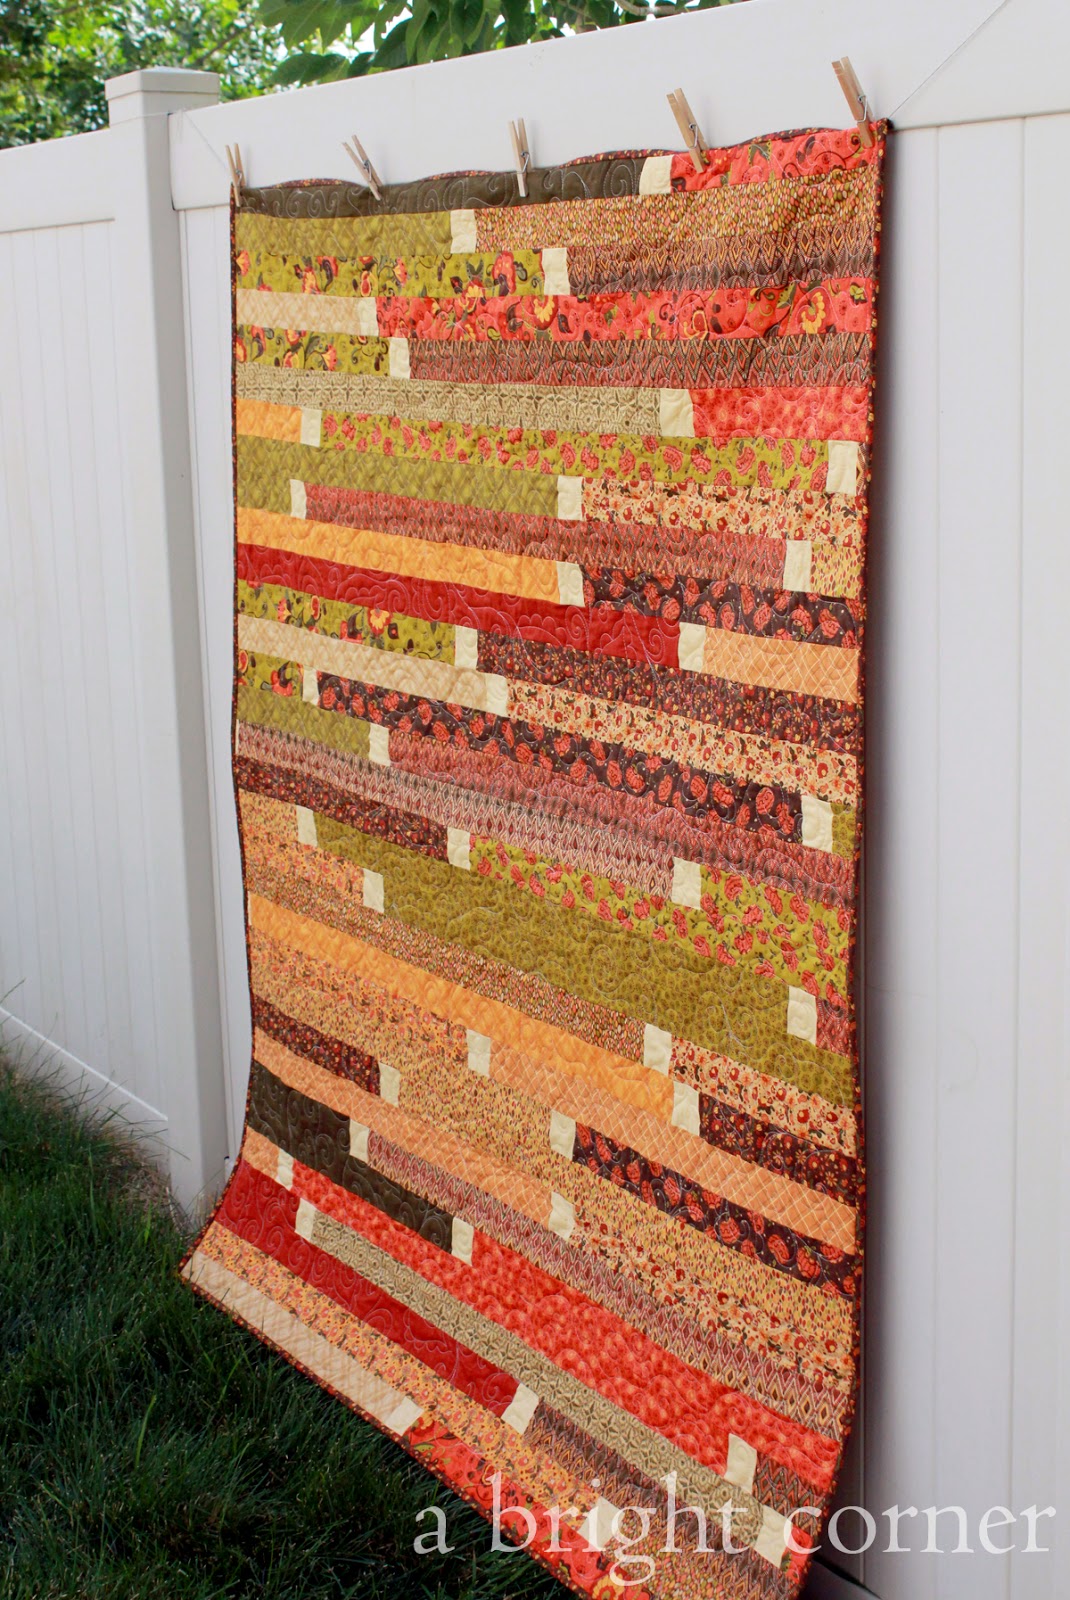
Confession:  I've never made a Jelly Roll Race Quilt.  Well, before last week anyway.  I just wasn't a fan.  

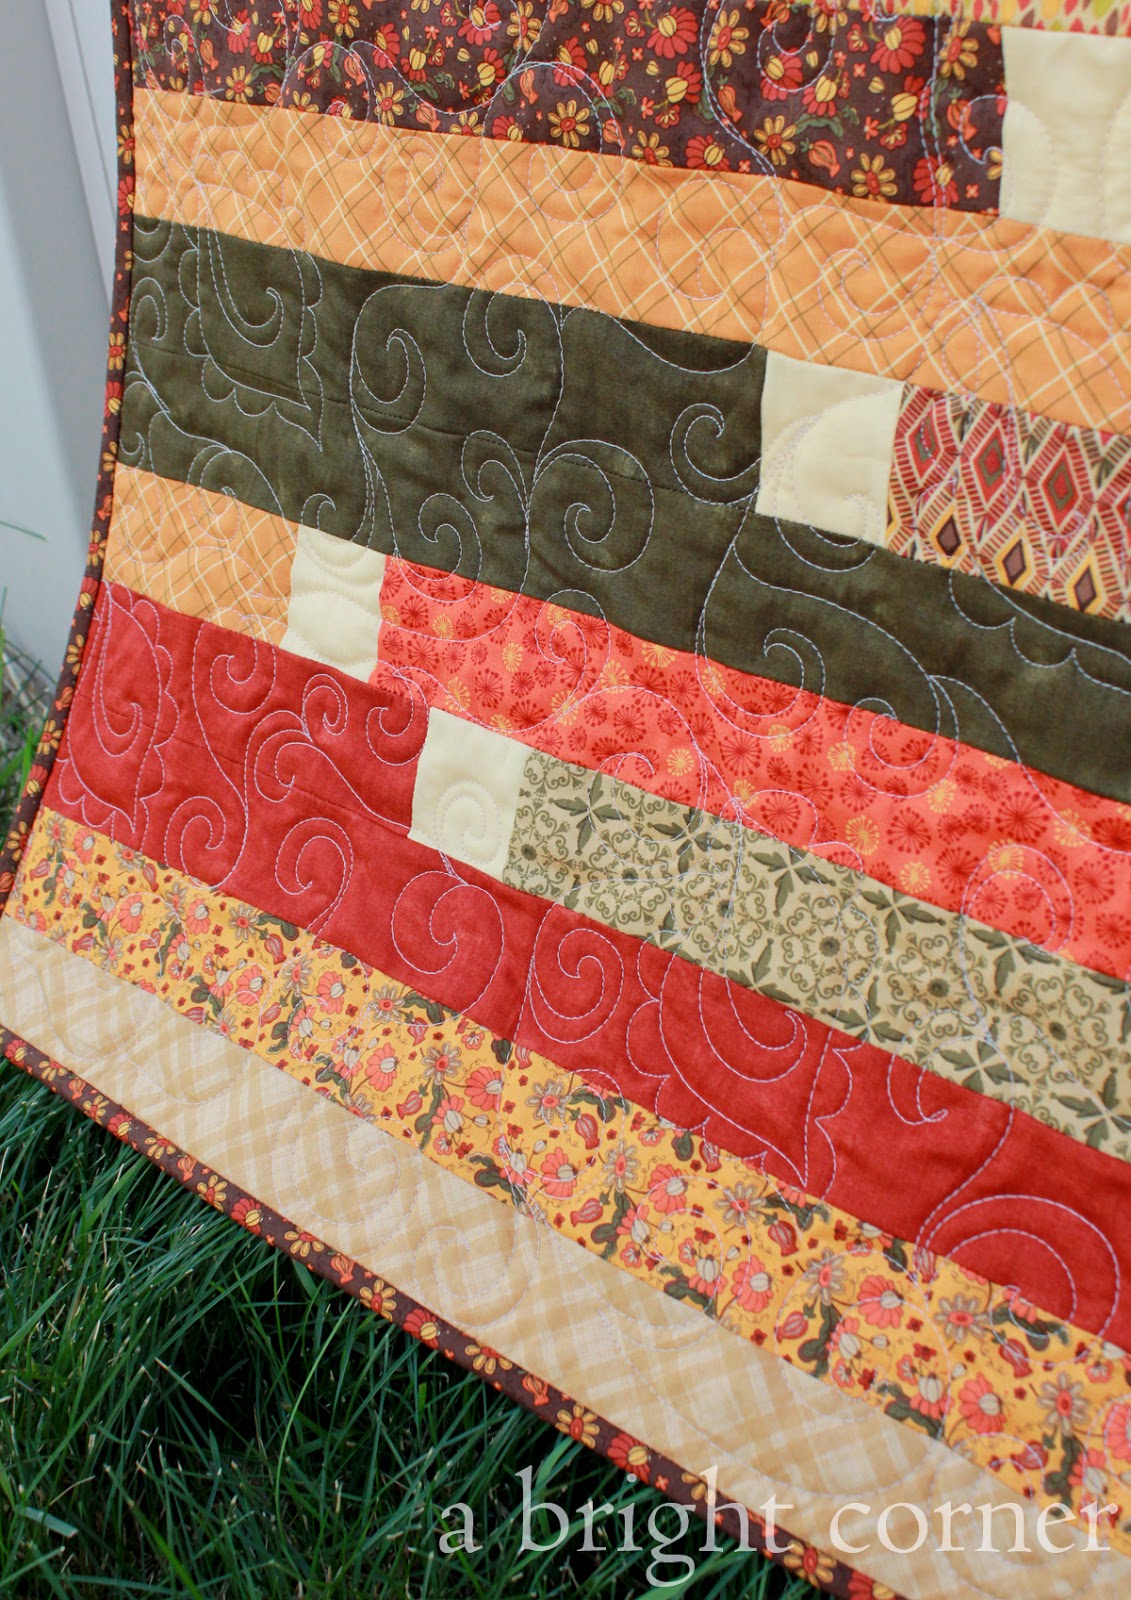
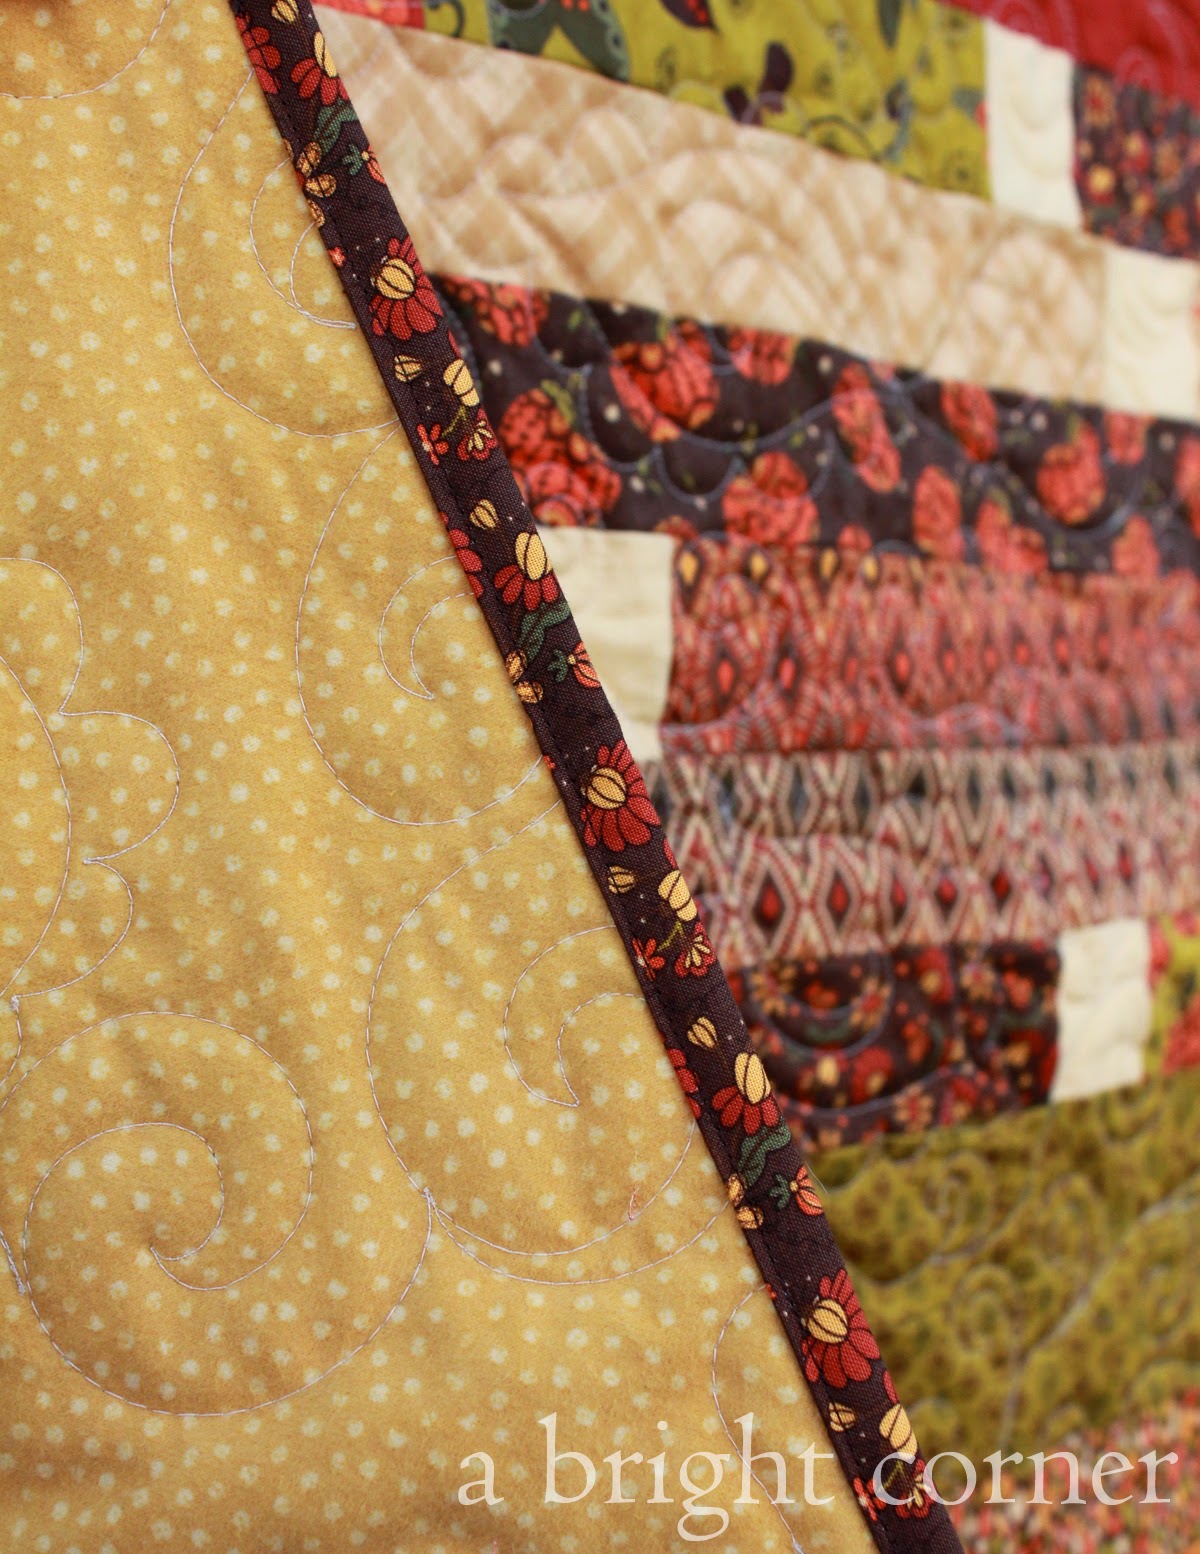
Jelly Roll Race Quilt in lovely fall colors!

But then the shop I work for needed one made and I volunteered.  I did a bit of searching on Pinterest and found a few that I loved that had these separating squares between the strips.  And I started to be converted.

When I sat down to start this quilt, I also started a movie.  I finished the quilt top before the movie was over.  No lie.  These Jelly Roll Race quilts really are that fast.

I quilted it the next day, using swirls and a paisley type design that sort of echoed what was in a few of the prints.  (I think all of these prints are from the Posh Pumpkins line by Sandy Gervais.)

Jelly Roll Race Quilt in lovely fall colors!

The backing is a nice, soft flannel which will be perfect come Fall!  

Jelly Roll Race Quilt in lovely fall colors!

I know each Jelly Roll Race Quilt finishes at a different size - mine is 56" x 63" and I used 42 (2.5") strips and 41 (2.5") squares.  You can find the tutorial for the Jelly Roll Race quilt here.  Have you done the Jelly Roll Race??

Jelly Roll Race Quilt in lovely fall colors!


Related Posts Plugin for WordPress, Blogger...